|
CMSIS-FreeRTOS
CMSIS-RTOS2 compliant FreeRTOS Implementation
|
|
CMSIS-FreeRTOS
CMSIS-RTOS2 compliant FreeRTOS Implementation
|
This pack contains two example projects:
The first example shows how to use FreeRTOS standalone, whereas the second example shows how to use the CMSIS-RTOS2 API with an underlying FreeRTOS.
The examples simulate a step-motor driver. Four phase variables are simulating the activation of the four output driver stages. The state changes are shown in the Watch window variable g_phases. All four phases are displayed in the Logic Analyzer:

This example shows how to use FreeRTOS natively in a µVision project. This makes your code portable and you can choose to use a different RTOS kernel anytime during development (even only for evaluation purposes).
To open the example, go to Pack Installer, select ARM in the Devices tab, and click on Copy next to the Native FreeRTOS Blinky (uVision Simulator) project on the Examples tab. Select the location on your hard drive where you want to copy the project to and press OK. µVision opens.
This example shows how to use the CMSIS-RTOS2 API with an underlying FreeRTOS. This makes your code portable and you can choose to use a different RTOS kernel anytime during development (even only for evaluation purposes).
To open the example, go to Pack Installer, select ARM in the Devices tab, and click on Copy next to the CMSIS-RTOS2 FreeRTOS Blinky (uVision Simulator) project on the Examples tab. Select the location on your hard drive where you want to copy the project to and press OK. µVision opens.
This example shows how to use the CMSIS-RTOS2 API with an underlying FreeRTOS running on an NXP i.MX6 equipped with an Arm Cortex-A9 code. This example only works in DS-MDK, the Eclipse-based development environment from Arm. For information on setting up the target connection, please refer to NXP i.MX 6SoloX SABRE Reference.
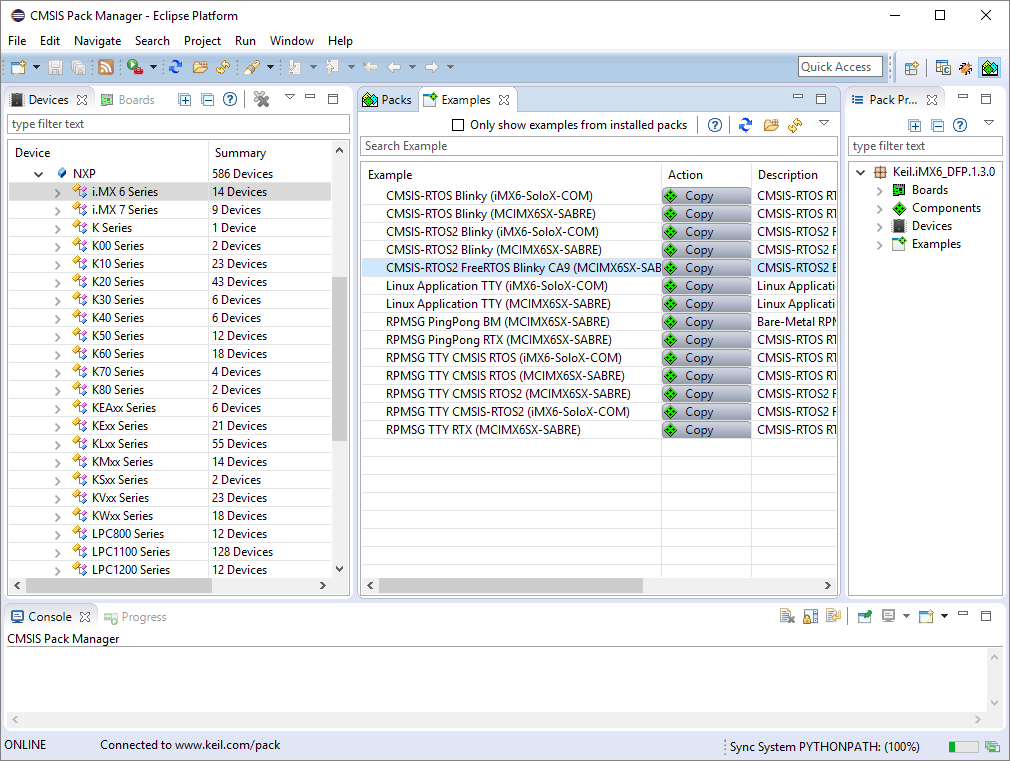
To open the example, open the Pack Installer perspective, select NXP in the Devices tab, and click on Copy next to the CMSIS-RTOS2 FreeRTOS Blinky CA9 (MCIMX6SX-SABRE) project on the Examples tab.
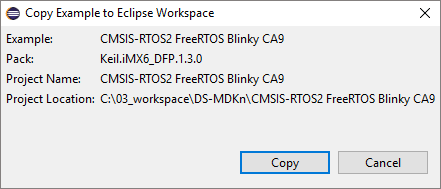
Confirm the default location in the Eclipse Workspace by pressing Copy.
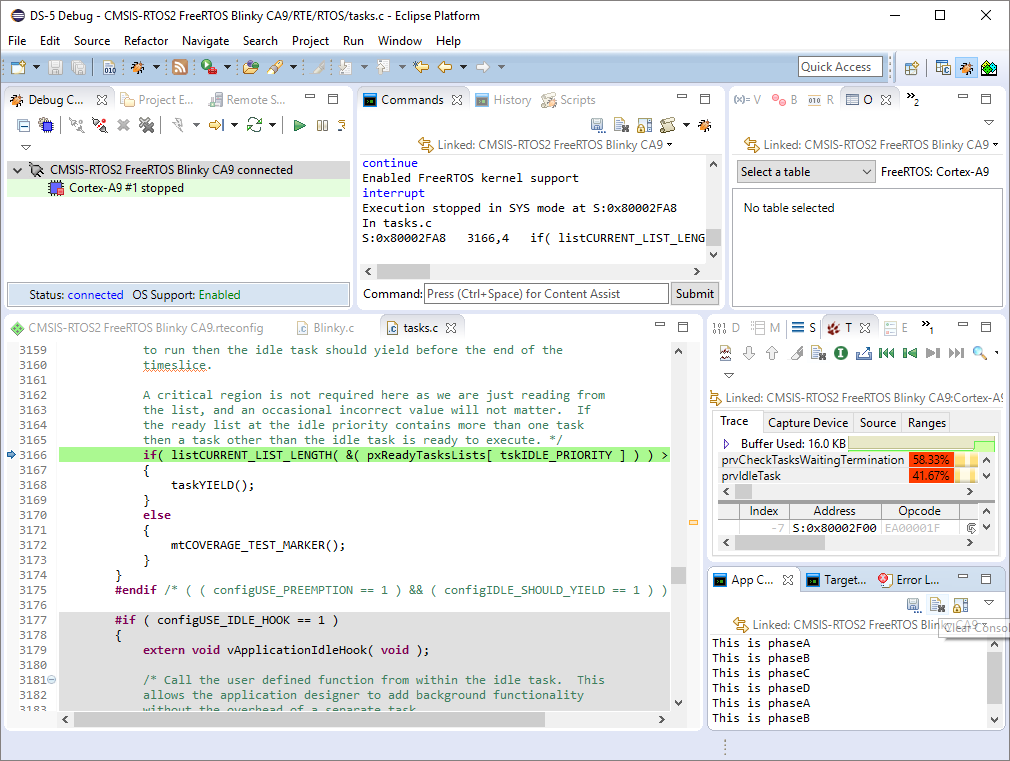
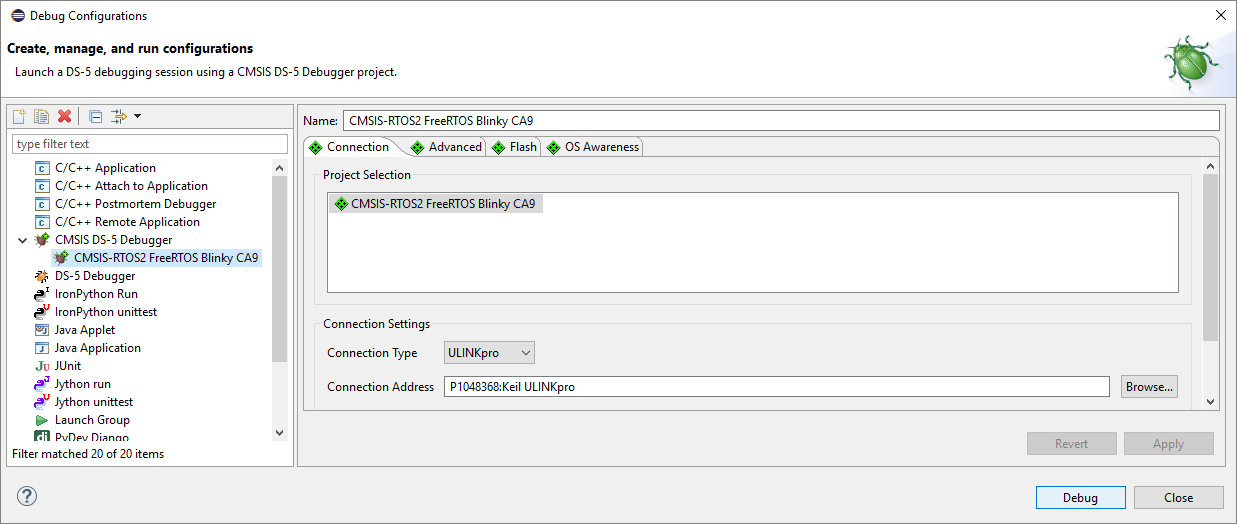
Right-click on the project and select Build Project. Then, right-click on the project and select Debug As and then Debug Configurations. The Debug Configurations dialog opens:
The project is already set up for running from the SDRAM of the i.MX6 SABRE board. Press Debug. DS-MDK will switch to the debug perspective. After a successful connection to the target, press F8 to run the application. In the App Console you will see the output of the phases: