The following section explains the interactive mode of the CMSIS-Zone Utility. The following steps are explained:
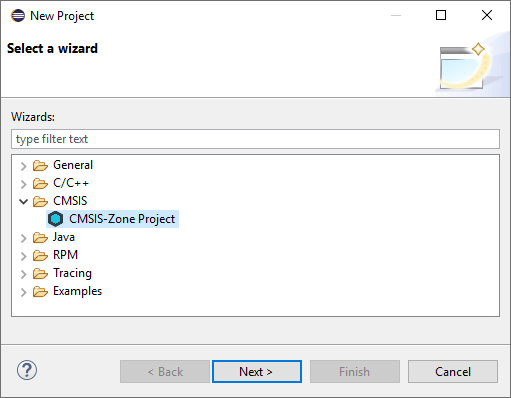
Go to File - New - Project and select CMSIS - CMSIS-Zone Project:
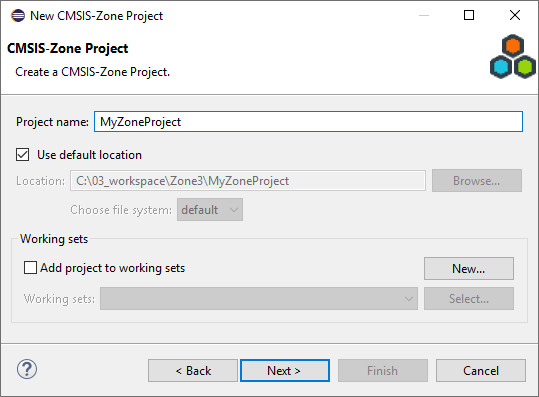
Click Next. In the next window, enter a Project name:
Click Next.
In the next window, select Use existing resource file (*.rzone) and browse to the location of the *.rzone file:
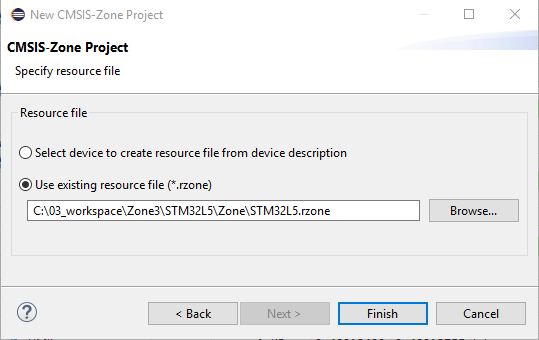
Click Finish. The new project is created and an empty *.azone file is added.
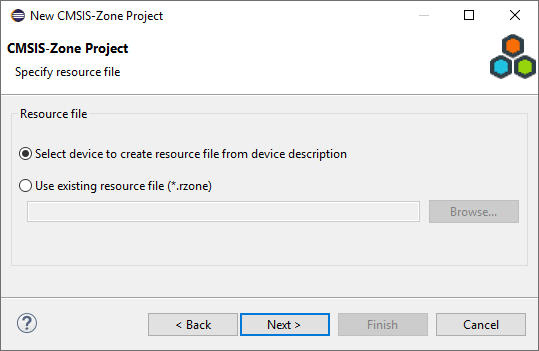
In the next window, use Select device to create resource file from device description:
Next, select your device from the list of installed device family packs:
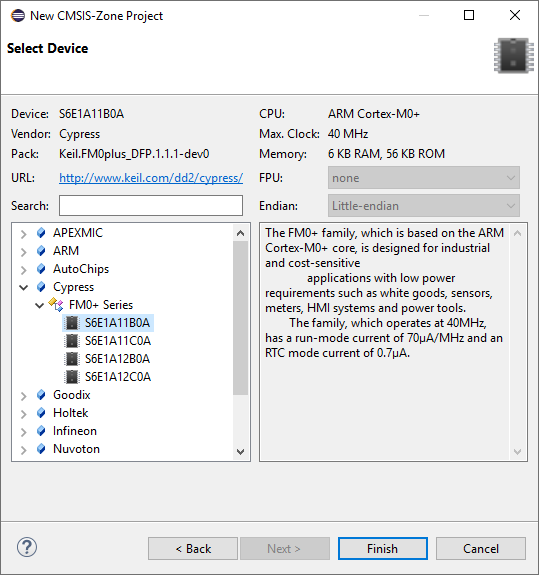
Click Finish. The new project and the *.rzone file are created and an empty *.azone file is added.
localappdata%\\Arm\\Packs: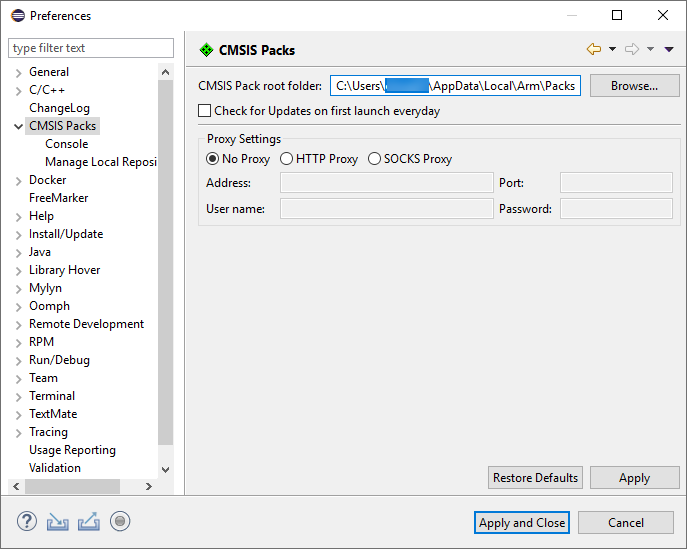
The available memory can be further divided into smaller regions that are later assigned to zones, for example a zone for loader and zone for application.
For memory and peripherals properties such as access permission, privilege, and security level can be configured.
These settings can be for example used to generate source code files that configure the device at run-time.
Initially, this uses the information in the *.rzone file which defines the generic access permissions for memory and peripherals. The CMSIS-Zone Editor shows the Resource Map of the given device:
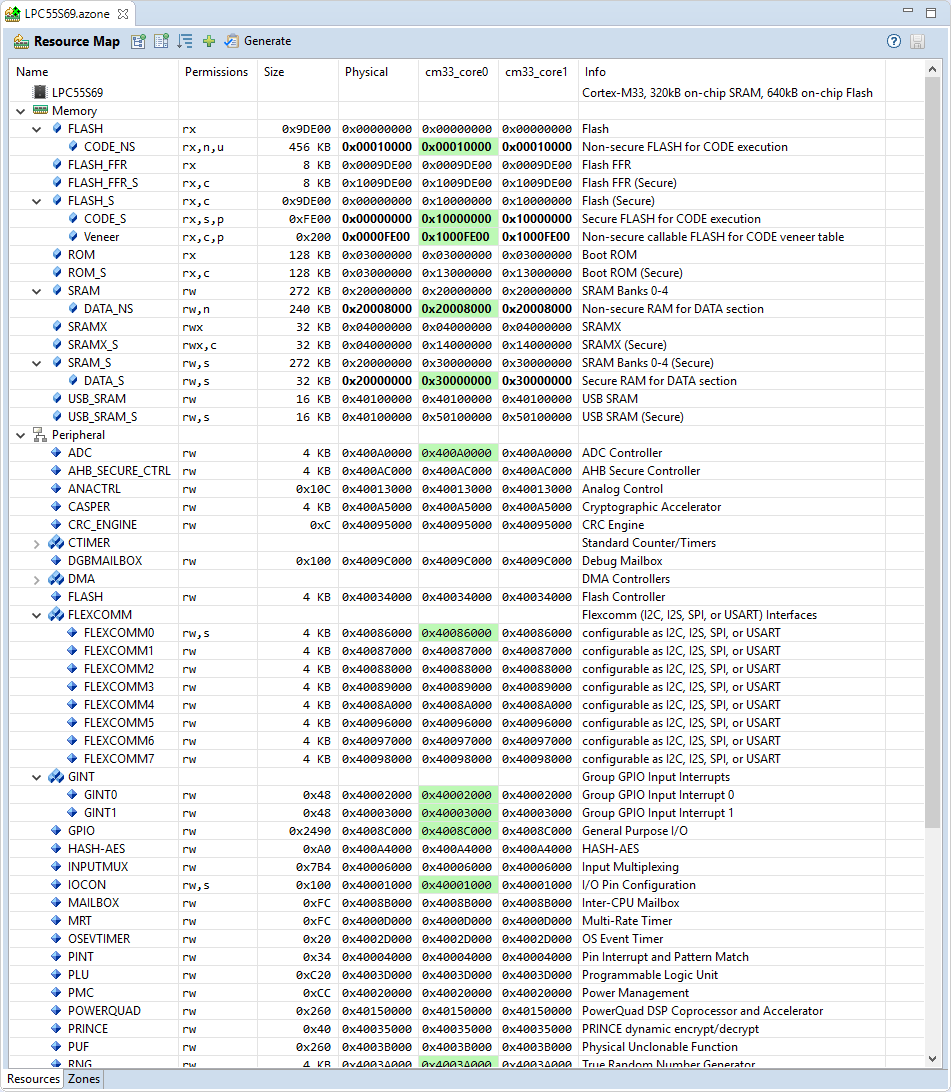
Here, you can see all resources that are available on the device. You see Memory, Peripherals, ** Cores**, and Info related to the resources. Colored resources are assigned to a zone.
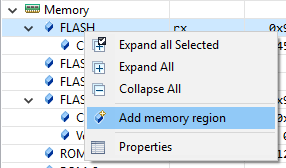
To create a new memory region, right-click on the memory that you want to divide and select Add memory region:
In the dialog a name derived from the parent memory region is provided. Change this region name as needed and specify the size. In this dialog, you change permissions, privilege, or security level for the memory region. When done, click Finish:
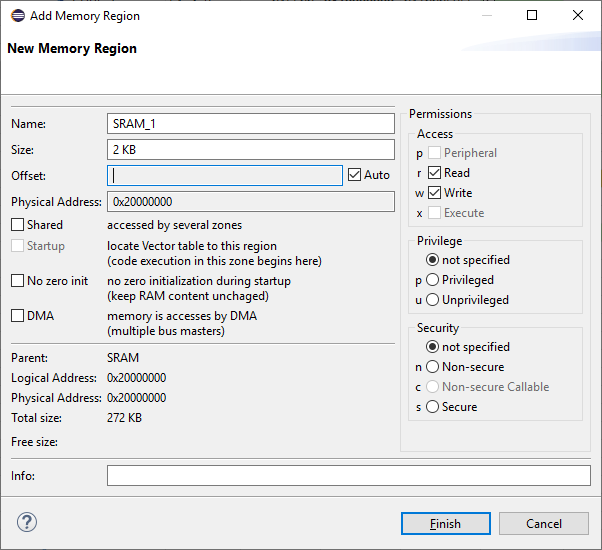
The new memory region is immediately shown in the zone map. Depending on the security level, you may be able to assign this new region only to certain zones. For example, secure memory regions cannot be assigned to a non-secure zone.

The information about the memory regions is stored in the /azone/partition/memory element element of the *.azone file.
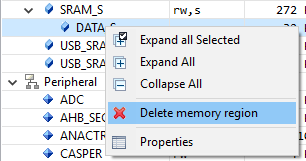
To delete a memory region, right-click on the memory region select Delete memory region:
To change the properties of a resource, such as a peripheral for example, right-click the resource and select Properties:
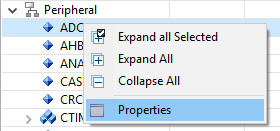
Then, you can set these properties:
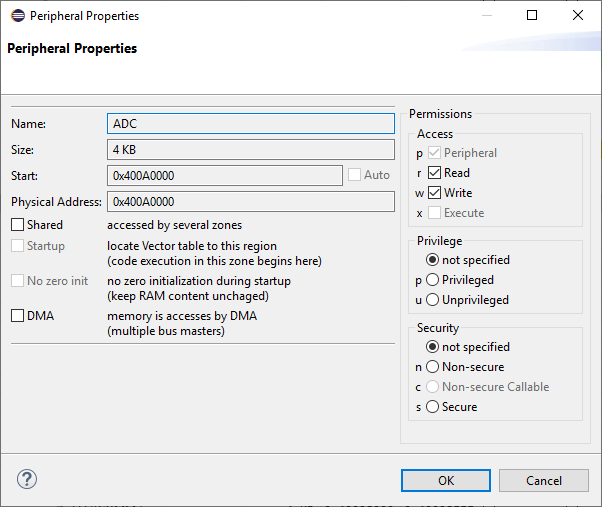
General
Shared: the resource can be accessed by more than one zoneStartup: locate the vector table to this regionNo zero init: preserve RAM content at startupDMA: enable direct memory accessPermissions
peripheral: mark this as a peripheralreadwriteexecutePrivilege
not specifiedprivilegedunprivilegedSecurity
not specifiednon-securenon-secure callablesecureThe information about the peripherals is stored in the /azone/partition/peripheral element element of the *.azone file.
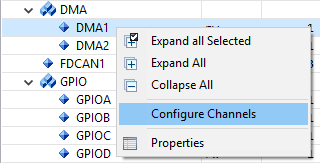
Peripherals can have so called slots that can be configured separately. Depending on the peripheral, the slots have different names in the Zone Editor. For example, for DMA they are called Channels:
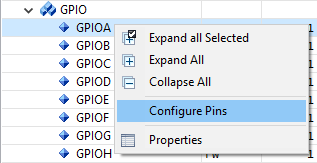
For GPIOs, they are called Pins:
In the dialog, you can set security and privilege levels:
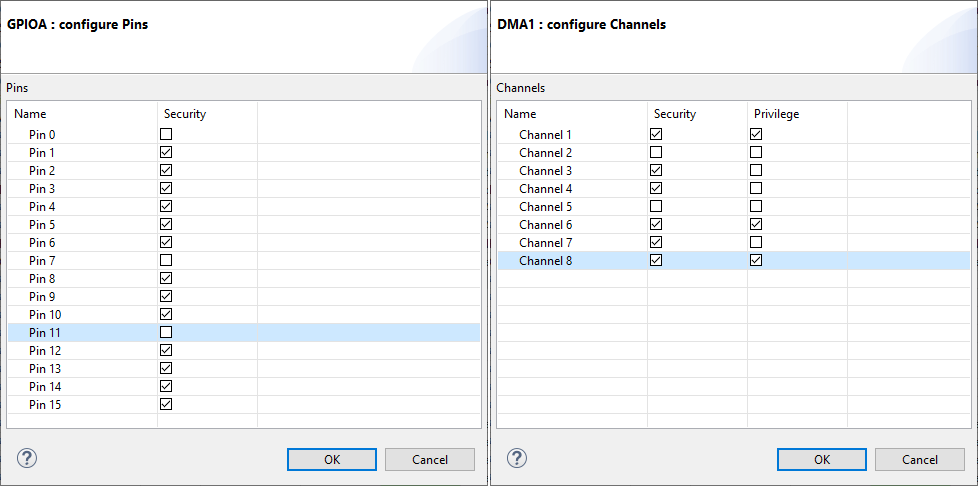
The information about the slots is stored in the /azone/partition/peripheral/slot element element of the *.azone file.
Every CMSIS-Zone project consists of one or more zones. The basic flow to create zones is as follows:
To split a multi-processor system into single-processor sub-systems, you need to create new zones. Switch to the Zones tab and click the Add new zone button: ( ).
).
In the new window, you need to specify a name for the zone, select the applicable core, and choose the security level (secure/non-secure).
In the Musca-A1 example, a new zone called "CM33_0" was created and attached to processor core 0 without any security attribute (not specified):
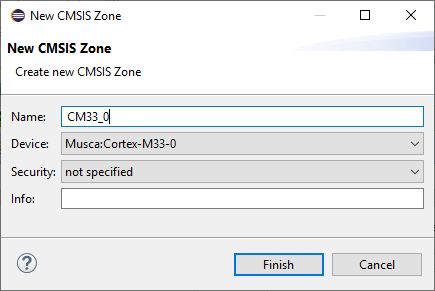
Similarly, an additional zone called "CM33_1" was created and attached to processor core 1, without security attribute.
Save your settings with the Save button ( ).
).
The CMSIS-Zone utility can generate files that represent the configuration of the system. These files can be used in the project source files or tool configuration files.
other toolchains for further development. The generator process creates:
ftl directory.To start the generation, press the Generate button or use the menu item CMSIS Zone - Generate ( ).
).
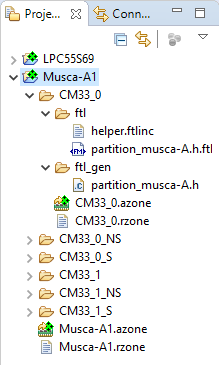
Check Project Explorer to observe the changes. In the project, the generated .azone and .rzone files appear and the ftl_gen directory contains the files defined by the ftl template files:
